


我们知道,阿里云百炼有提供很多非常好的模型,控制台地址在:https://bailian.console.aliyun.com/ ,不要用浏览器搜索搜错了。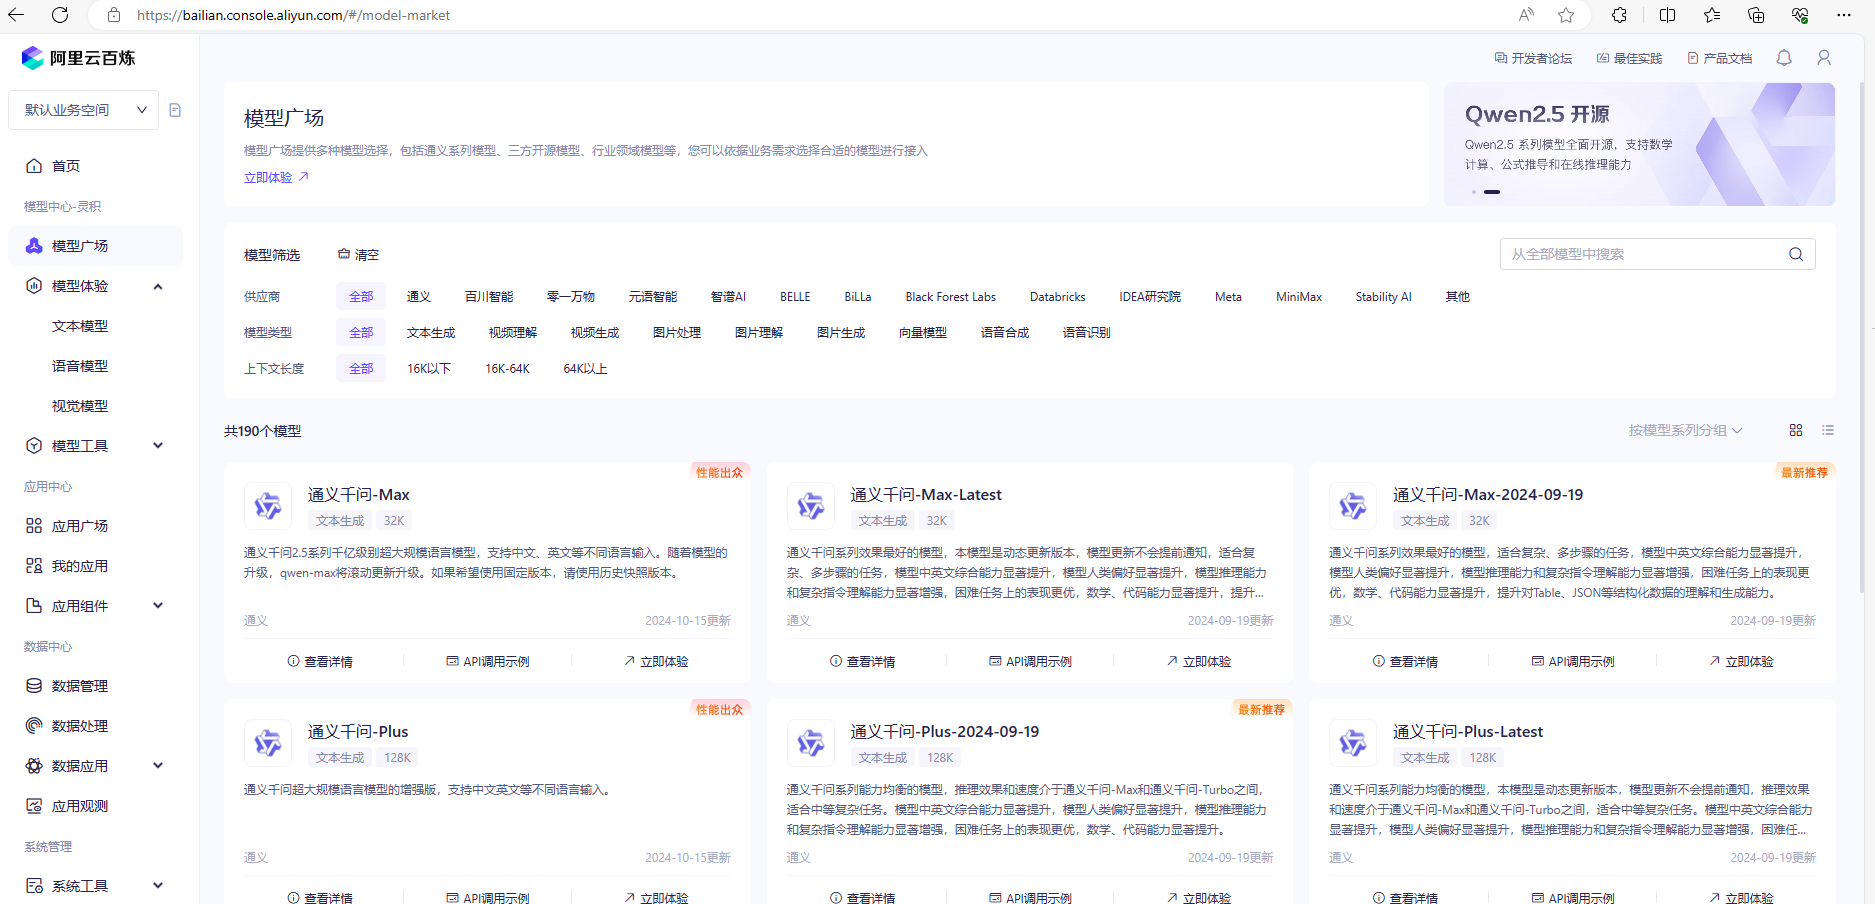
那这些模型要怎么调用呢,其实alibaba已经封装了调用方法,这就是github上的项目:https://github.com/alibaba/spring-ai-alibaba
今天我们就来简单搭建下。
1、新建springboot项目
这里要求jdk是17,springboot是3以上,所以我就直接用这个版本了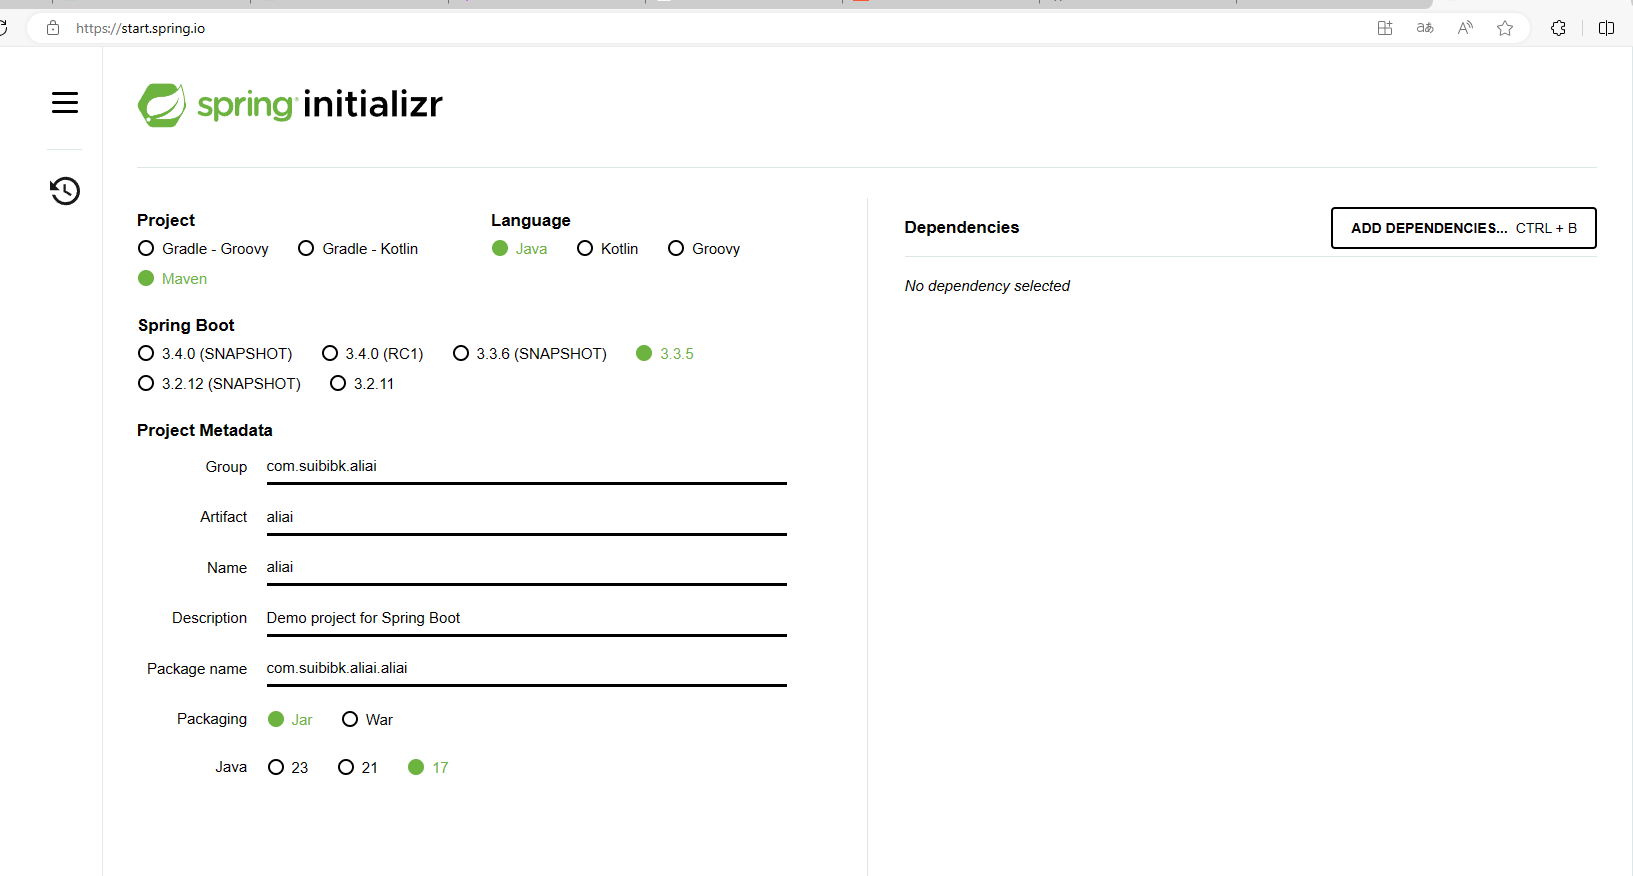
2、加入依赖
这个可以直接参考github项目的例子
https://github.com/alibaba/spring-ai-alibaba/blob/main/spring-ai-alibaba-examples/helloworld-example/pom.xml
如下是我的依赖文件
<?xml version="1.0" encoding="UTF-8"?><project xmlns="http://maven.apache.org/POM/4.0.0" xmlns:xsi="http://www.w3.org/2001/XMLSchema-instance"xsi:schemaLocation="http://maven.apache.org/POM/4.0.0 https://maven.apache.org/xsd/maven-4.0.0.xsd"><modelVersion>4.0.0</modelVersion><parent><groupId>org.springframework.boot</groupId><artifactId>spring-boot-starter-parent</artifactId><version>3.3.5</version><relativePath/> <!-- lookup parent from repository --></parent><groupId>com.suibibk.aliai</groupId><artifactId>aliai</artifactId><version>0.0.1-SNAPSHOT</version><name>aliai</name><description>Demo project for Spring Boot</description><properties><java.version>17</java.version><!-- Spring AI --><spring-ai-alibaba.version>1.0.0-M3.1</spring-ai-alibaba.version></properties><dependencies><dependency><groupId>org.springframework.boot</groupId><artifactId>spring-boot-starter</artifactId></dependency><dependency><groupId>com.alibaba.cloud.ai</groupId><artifactId>spring-ai-alibaba-starter</artifactId><version>${spring-ai-alibaba.version}</version></dependency><dependency><groupId>org.springframework.boot</groupId><artifactId>spring-boot-starter-web</artifactId></dependency><dependency><groupId>org.springframework.boot</groupId><artifactId>spring-boot-starter-test</artifactId><scope>test</scope></dependency></dependencies><repositories><repository><id>spring-milestones</id><name>Spring Milestones</name><url>https://repo.spring.io/milestone</url><snapshots><enabled>false</enabled></snapshots></repository></repositories><build><plugins><plugin><groupId>org.springframework.boot</groupId><artifactId>spring-boot-maven-plugin</artifactId></plugin></plugins></build></project>
其实主要就是
<dependency><groupId>com.alibaba.cloud.ai</groupId><artifactId>spring-ai-alibaba-starter</artifactId><version>${spring-ai-alibaba.version}</version></dependency><dependency><groupId>org.springframework.boot</groupId><artifactId>spring-boot-starter-web</artifactId></dependency>
还有下面的
<repositories><repository><id>spring-milestones</id><name>Spring Milestones</name><url>https://repo.spring.io/milestone</url><snapshots><enabled>false</enabled></snapshots></repository></repositories>
这个是由于 spring-ai 相关依赖包还没有发布到中央仓库,如出现 spring-ai-core 等相关依赖解析问题,请在您项目的 pom.xml 依赖中加入如上仓库配置。
补充:如果您的本地 maven settings.xml 中的 mirrorOf 标签配置了通配符 * ,请根据以下示例修改。
<mirror><id>xxxx</id><mirrorOf>*,!spring-milestones</mirrorOf><name>xxxx</name><url>xxxx</url></mirror>
具体可以参考
https://github.com/alibaba/spring-ai-alibaba/blob/main/README-zh.md
3、jdk
这个可以去https://d.injdk.cn/download/openjdk/17 下载。
4、代码
直接从上面的例子复制即可
package com.suibibk.aliai.aliai;import java.util.Objects;import reactor.core.publisher.Flux;import org.springframework.ai.chat.client.ChatClient;import org.springframework.web.bind.annotation.GetMapping;import org.springframework.web.bind.annotation.RequestMapping;import org.springframework.web.bind.annotation.RestController;@RestController@RequestMapping("/ai")public class ChatController {private final ChatClient chatClient;public ChatController(ChatClient.Builder builder) {this.chatClient = builder.build();}@GetMapping("/chat")public String chat(String input) {return this.chatClient.prompt().user(input).call().content();}@GetMapping("/stream")public String stream(String input) {Flux<String> content = this.chatClient.prompt().user(input).stream().content();return Objects.requireNonNull(content.collectList().block()).stream().reduce((a, b) -> a + b).get();}}
可以看到提供了chat方式还有流的方式.
5、配置文件
spring.application.name=aliaispring.ai.dashscope.api-key=xxxxx
这个api-key怎么来呢
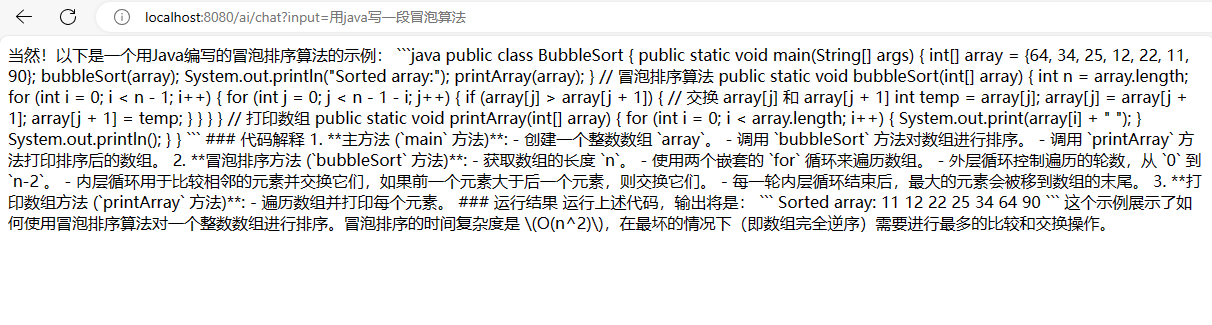
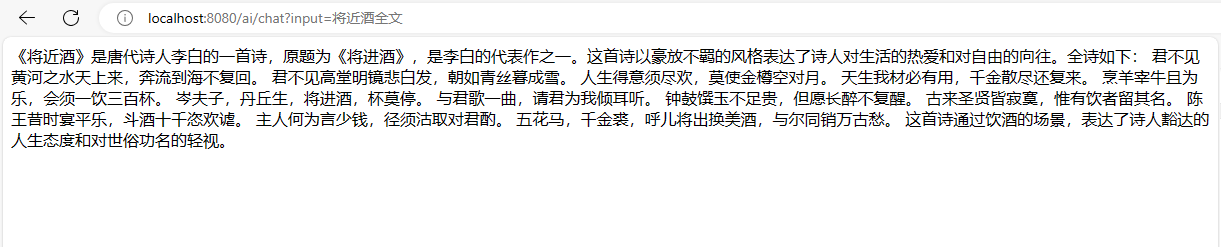
6、启动测试
好了以后有需要再试试其他功能。主要是参考github里面和阿里云百炼的接口吧。不过很多接口应该都要钱,价格应该也不贵!
更多使用官网:https://sca.aliyun.com/docs/2023/user-guide/ai/quick-start/
