


1、路由的安装
官方文档
https://router.vuejs.org/zh/
npm install vue-router@4
若是没有安装,启动项目后会报找不到router
2、例子
这里举个简单的例子,项目目录下面有两个vue页面,一个HomeView.vue一个AboutView.vue,然后首页点击切换,怎么做呢?
项目结构如下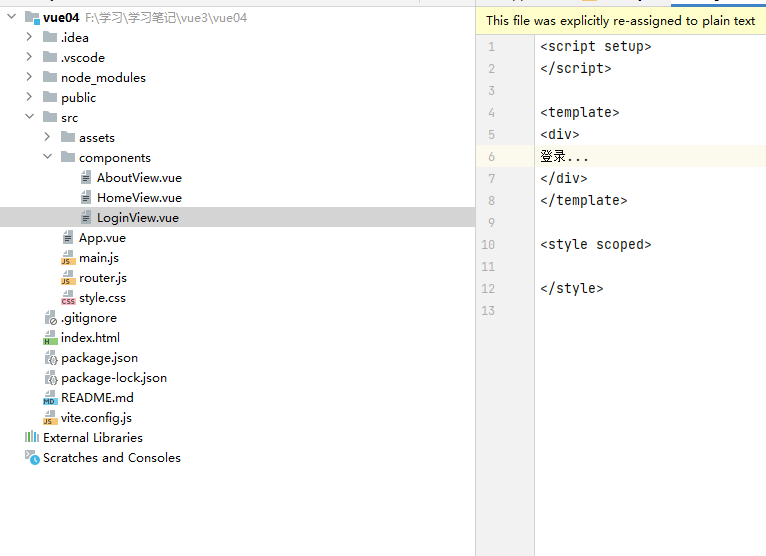
2-1、首先建两个页面
AboutView.vue,
<script setup>import { ref } from 'vue'</script><template><div>About...</div></template>
和HomeView.vue
<script setup>import { ref } from 'vue'</script><template><div>HOME...</div></template>
2-1、首先引入路由
这里分装成一个router.js文件
import { createMemoryHistory, createRouter,createWebHashHistory,createWebHistory } from 'vue-router'import HomeView from './components/HomeView.vue'import AboutView from './components/AboutView.vue'const routes = [{ path: '/', component: HomeView },{ path: '/about', component: AboutView },]const router = createRouter({//history: createMemoryHistory(),//history:createWebHashHistory(),//会带有#history:createWebHistory(),//HTML5 模式 推荐routes,})export default router
2-2、main.js使用路由组件
import { createApp } from 'vue'import router from'./router.js'import App from './App.vue'createApp(App).use(router).mount('#app')
2-3、App.vue
<script setup></script><template><h1>Hello App!</h1>https://cn.vuejs.org/guide/scaling-up/routing.html<p><strong>Current route path:</strong> {{ $route.fullPath }}</p><nav><RouterLink to="/">Go to Home</RouterLink><br/><RouterLink to="/about">Go to About</RouterLink></nav><main><RouterView /></main></template>
启动就好了。
其实上面的流程,在官网也很清晰:https://router.vuejs.org/zh/guide/
3、不同的历史模式
我们上面会有这个配置
const router = createRouter({//history: createMemoryHistory(),//history:createWebHashHistory(),//会带有#history:createWebHistory(),//HTML5 模式 推荐routes,})
3-1、Hash 模式
hash 模式是用 createWebHashHistory() 创建的:
import { createRouter, createWebHashHistory } from 'vue-router'const router = createRouter({history: createWebHashHistory(),routes: [//...],})
它在内部传递的实际 URL 之前使用了一个哈希字符(#)。由于这部分 URL 从未被发送到服务器,所以它不需要在服务器层面上进行任何特殊处理。不过,它在 SEO 中确实有不好的影响。如果你担心这个问题,可以使用 HTML5 模式。
3-2、Memory 模式
Memory 模式不会假定自己处于浏览器环境,因此不会与 URL 交互也不会自动触发初始导航。这使得它非常适合 Node 环境和 SSR。它是用 createMemoryHistory() 创建的,并且需要你在调用 app.use(router) 之后手动 push 到初始导航。
import { createRouter, createMemoryHistory } from 'vue-router'const router = createRouter({history: createMemoryHistory(),routes: [//...],})
虽然不推荐,你仍可以在浏览器应用程序中使用此模式,但请注意它不会有历史记录,这意味着你无法后退或前进。
3-3、HTML5 模式
用 createWebHistory() 创建 HTML5 模式,推荐使用这个模式:
import { createRouter, createWebHistory } from 'vue-router'const router = createRouter({history: createWebHistory(),routes: [//...],})
当使用这种历史模式时,URL 会看起来很 “正常”,例如 https://example.com/user/id。漂亮!
不过,问题来了。由于我们的应用是一个单页的客户端应用,如果没有适当的服务器配置,用户在浏览器中直接访问 https://example.com/user/id,就会得到一个 404 错误。这就尴尬了。
不用担心:要解决这个问题,你需要做的就是在你的服务器上添加一个简单的回退路由。如果 URL 不匹配任何静态资源,它应提供与你的应用程序中的 index.html 相同的页面。漂亮依旧!
注:如果部署的时候没有独立域名,用路径分发的话,nginx配置不同的模式会稍有不同,可以参考
https://www.suibibk.com/topic/1300248160588791808
4、导航守卫
正如其名,vue-router 提供的导航守卫主要用来通过跳转或取消的方式守卫导航。这里有很多方式植入路由导航中:全局的,单个路由独享的,或者组件级的。
比如
router.beforeEach((to, from) => {console.log("from=",from)console.log("to=",to)if(to.path=="/about"){console.log("不准去")return false;}})
这样用户点击/about就会点不进去,当然更高级的用户是用来检测登录,假设去该路径需要登录,则检测登录,具体怎么做呢,我们首先定义routes就加上元数据,比如下面的/about是需要登录的。
const routes = [{ path: '/', component: HomeView },{ path: '/about', component: AboutView , meta: { requiresAuth: true },},{ path: '/login', component: LoginView },]
再加个简单的路由守卫
router.beforeEach(async (to, from) => {//canUserAccess() 返回 `true` 或 `false`const canAccess = await canUserAccess(to)if (!canAccess) return '/login'})function canUserAccess(to){console.log(to.meta.requiresAuth)if(to.meta.requiresAuth){console.log("需要登录")return new Promise((resolve) => {setTimeout(() => {resolve(false);}, 2000);});}return true;}
canUserAccess方法模拟后台登录校验接口。当然用不用async和await要根据你的应用场景来。
更多导航守卫什么的教程可以参考官网:https://router.vuejs.org/zh/
